MPLAB X IDE and XC8 Compiler-Installation
- Complete Video Course on PIC18F4550 Microcontroller
- Introduction: MPLAB X IDE and XC compiler
- Step 1: Download MPLAB X IDE
- Step 2: Download XC8 Compiler
- Step 3: Install MPLAB X IDE
- Step 4: Install XC8 Compiler
- Step 5: Verify Installation
- Step 6: Create a Test Project
- Common Installation Issues
- Conclusion
- Learn More
- Complete Video Course on PIC18F4550 Microcontroller
- 💬Frequently Asked Questions (FAQ)
Would you like to join our comprehensive practical video course on the PIC18F4550 Microcontroller?
Complete Video Course on PIC18F4550 Microcontroller

Introduction: MPLAB X IDE and XC compiler
MPLAB X IDE is Microchip’s powerful integrated development environment used for programming and debugging PIC microcontrollers. The PIC compiler (XC8 compiler) is used for developing and compiling embedded applications for 8-bit PIC devices. MPLAB X provides a professional workspace that integrates project management, code editing, and debugging tools in one place. In this blog, we’ll walk through installing MPLAB X IDE and the XC8 Compiler step-by-step.
Step 1: Download MPLAB X IDE
Visit the official Microchip website and choose the version compatible with your operating system -Windows, macOS, or Linux. Click on the Download button and follow the on-screen instructions.
Download MPLAB X:https://www.microchip.com/mplabx-ide
Step 2: Download XC8 Compiler
Next, download the XC8 Compiler. Again, select the version that matches your OS. The XC8 compiler converts your C source code into machine code that can be programmed into the PIC microcontroller.
Download XC8 Compiler: https://www.microchip.com/xc8
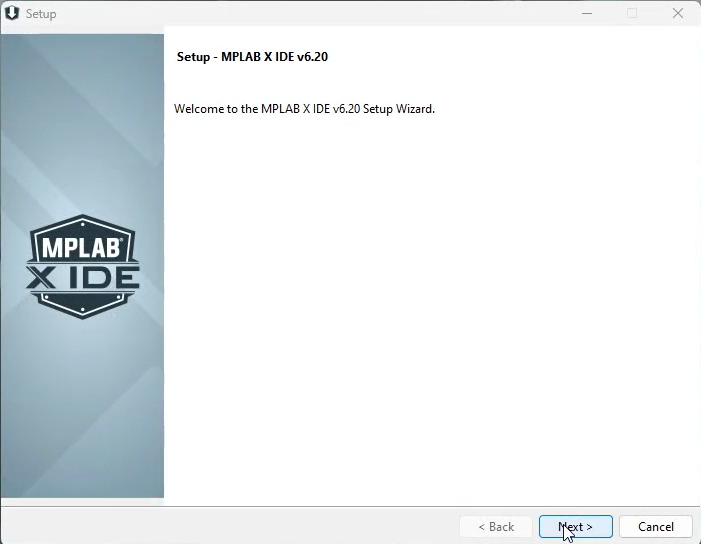
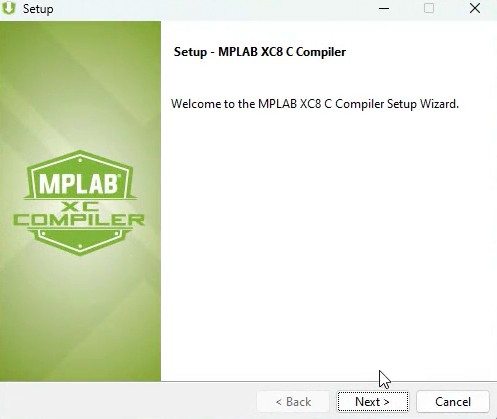
Step 3: Install MPLAB X IDE
Once downloaded, open the MPLAB X installer file. Follow these steps:
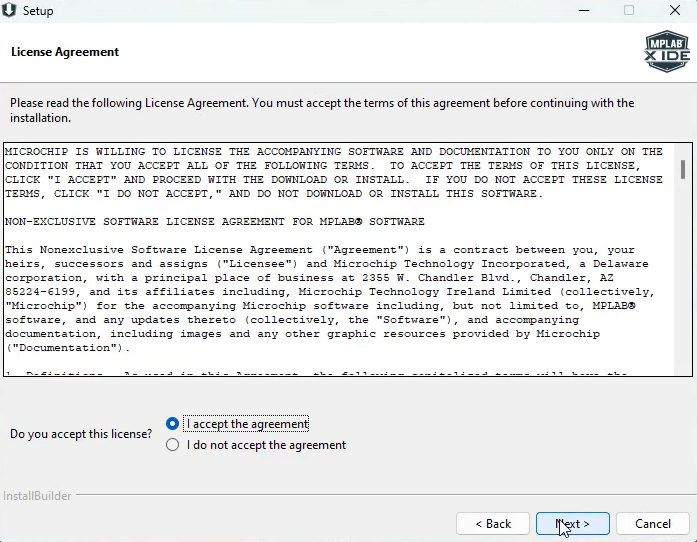
- In the Setup wizard, click Next
- Accept the license agreement.
- Choose the installation directory (default is recommended).
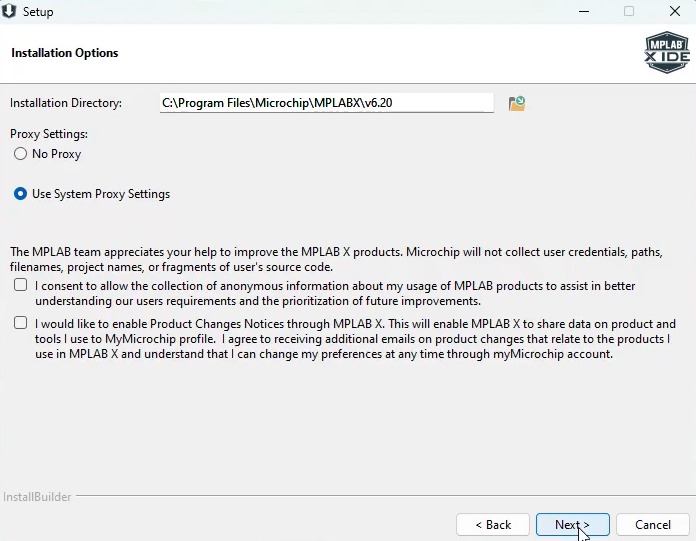
- Continue with default settings unless you need specific components.
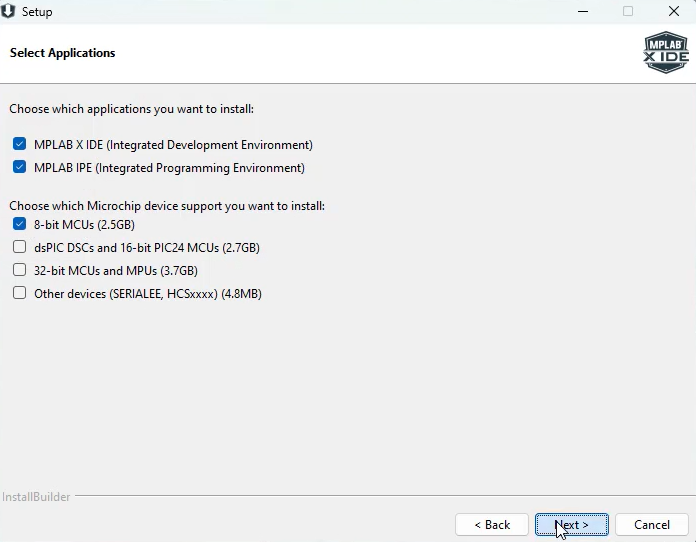
- Click Next
- Installing…
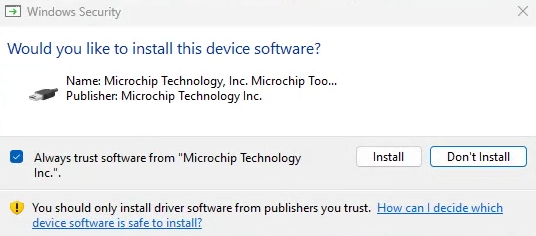
- Install drivers.
- Click Finish. After installation, launch the IDE to verify it opens successfully.
Step 4: Install XC8 Compiler
After installing MPLAB X IDE, run the XC8 Compiler installer:
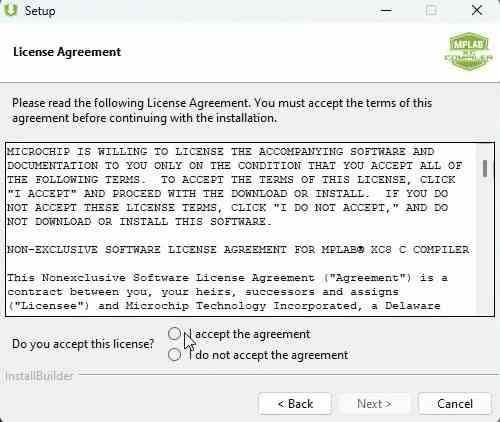
- Accept the terms and conditions.
- Select the target installation folder.
- The installer automatically integrates the compiler with MPLAB X IDE.
After installation, restart the IDE to ensure it detects the compiler.
Step 5: Verify Installation
To confirm everything is working:
- Open MPLAB X IDE.
- Go to Tools → Options → Embedded → Build Tools.
- Check if XC8 Compiler is listed under “Toolchains.”
If it appears, your installation was successful.
Step 6: Create a Test Project
Now you can create your first project to verify functionality:
- Select File → New Project → Microchip Embedded → Standalone Project.
- Choose your device (e.g., PIC16F877A).
- Assign a project name and folder.
- Select the XC8 Compiler as your toolchain.
- Write a simple “blink LED” program and build the project to check that compilation works without errors.
Common Installation Issues
Missing Compiler in Toolchains
If MPLAB X doesn’t recognize the compiler, check that the XC8 path is correctly added under Tools → Options → Embedded → Build Tools → Add.
Antivirus or Firewall Blocking
Some antivirus programs may block parts of the installation. Temporarily disable protection during installation if necessary.
Conclusion
Installing MPLAB X IDE and the XC8 Compiler is the first step in beginning your journey with Microchip’s PIC microcontrollers. With this setup, you’re ready to develop, compile, and debug professional-grade embedded projects with ease.
Learn More
Want to go beyond just configuration and build complete projects?
🎓 Join our Complete Practical Video Course on PIC18F4550 Microcontroller
Get step-by-step guidance on USB, I²C, SPI, UART, ADC, and more — with real circuits and projects!
➡️ Start Learning Now at “Master PIC18F4550 Programming“
Complete Video Course on PIC18F4550 Microcontroller
#pic compiler #c compiler
💬Frequently Asked Questions (FAQ)
Yes, MPLAB X IDE and the XC8 compiler (PIC compiler) both offer free versions for personal and professional use.
Yes.